Agend has the capacity to store notifications related to events, which can be displayed to users at certain opportunities. Provided the infrastructure and other requirements are met, it can be used to send push notifications to users as well.
NB: Only used by the Agend App at this time.
Managing notifications #
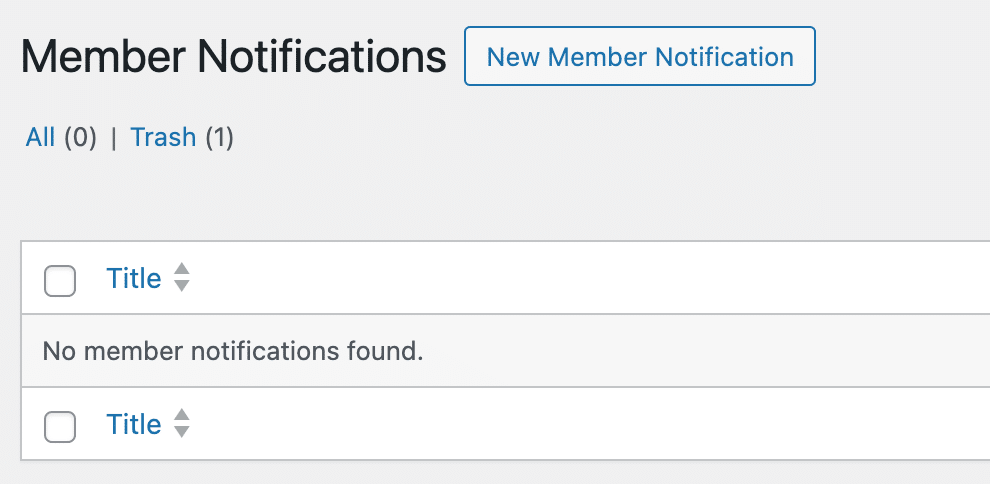
Make sure you are logged in to WordPress, then navigate to: Member Notifications.

Creating a notification #
1. Click the New Member Notification button
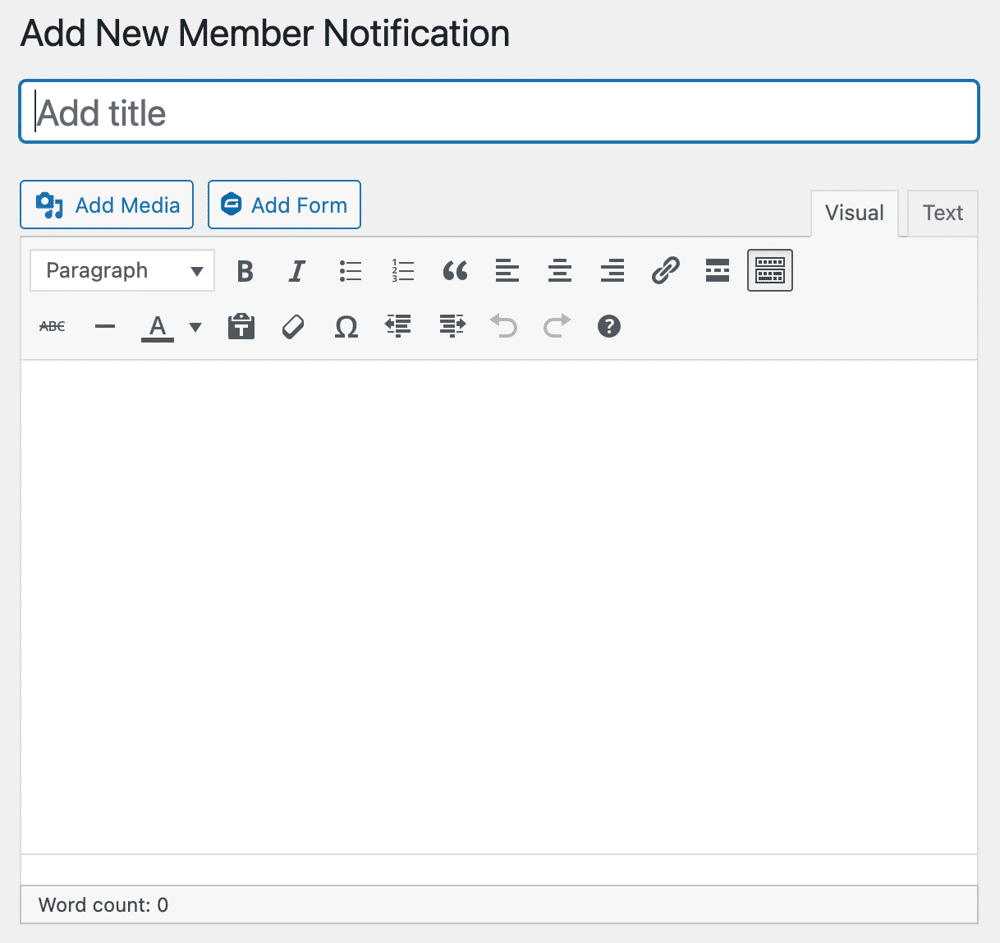
2. Enter a title and content for the notification.

NB: It is important to note that depending on where and how the notification content is displayed, it may not look the same as entered here. This is especially the case with images. We recommend that notification content should be kept to basic text and paragraphs most of the time.
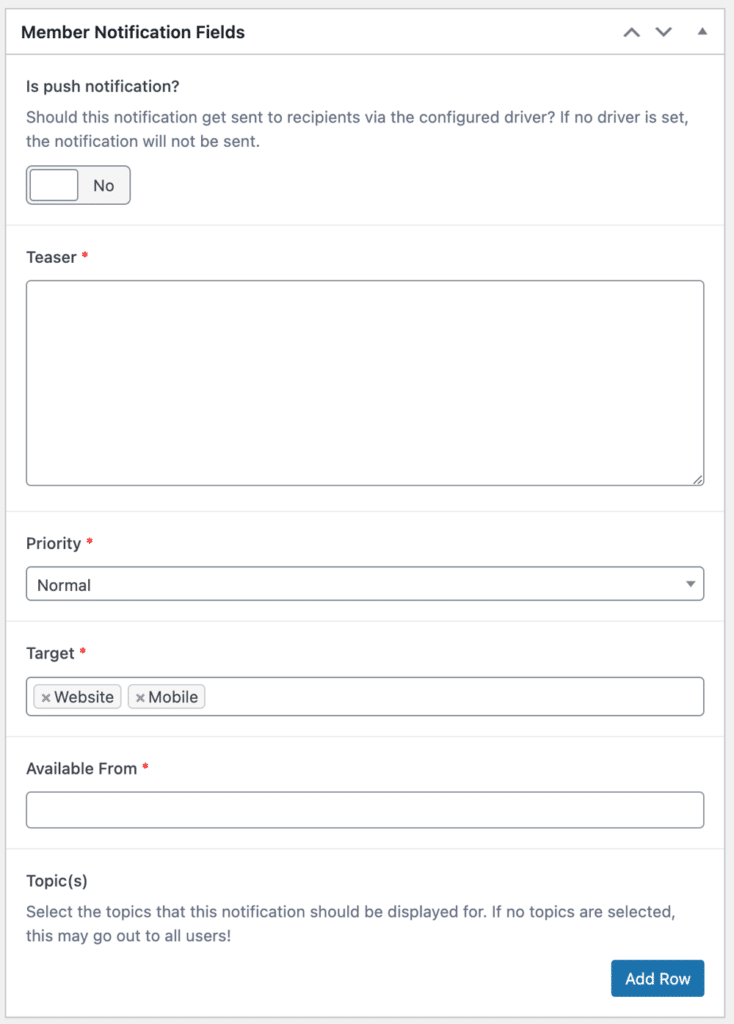
3. Next, enter the relevant Member Notification Fields

- Is push notification – This will mark the notification as a push notification. Please note that if push notifications are not configured in WordPress and in other required areas (such as the Agend App), push notifications will not be sent.
- Teaser – This is a short version of the notification, think of it like a “subject line”. Try to be very brief, and use content which can encourage a user to action the notification.
- Priority – This is only used for push notifications. “Normal” should suffice, however setting “High” may help a notification be displayed with more prominence depending on the user’s device and its configuration.
- Target – This is only used for push notifications. We recommend leaving this as “Website, Mobile”
- Available From – This marks the date+time the notification is available after.
- Eg – if you wish to have a notification for an event which tells members where to go to sign in, you could create the notification ahead of time and set the date+time to the morning of the event. This way it will be available to members at the appropriate time.
- NB: If the notification is a push notification, the push notification will be sent when this date+time has passed.
- Topics – This determines who will be able to read/receive the notification. A notification can have multiple topics.
- To add
- Click Add Row to add a topic
- Select a Type
- Select/type a Value for the type
- NB: At this time users/members are only linked to event topics, as such event topics, when set, are the only topics which will find recipients.
- To add
Sending a notification #
As notifications are scheduled using the Available From field, there is no “Send button”.
At time of writing, the server is configured to process pending push notifications every 30 minutes. When applicable, they are dispatched to Google Firebase, after which they are dispatched to any relevant devices which should receive the notifications.
Please see above for information about the Available From field.
Generic notifications (ie, not push) #
Notifications can also be displayed in certain places, such as the “My notifications” screen in the app, or an Event Details Screen in the app.
These will only be available to users after the Available From date, allowing you to schedule a message to be available after a certain date.


