Step-by-step Instructions
Step 1: Upload your file
First, make sure the file (PDF, docx, etc.) is uploaded to your website’s Media Library.
Once uploaded, open the file in the Media Library and copy its URL using the “Copy to clipboard” option.

Step 2: Create a new CRM Flow
In your Agend dashboard, go to CRM > Flows and click “Add New Flow”.
Give it a clear name like: 2025 Resource Download Tracking.
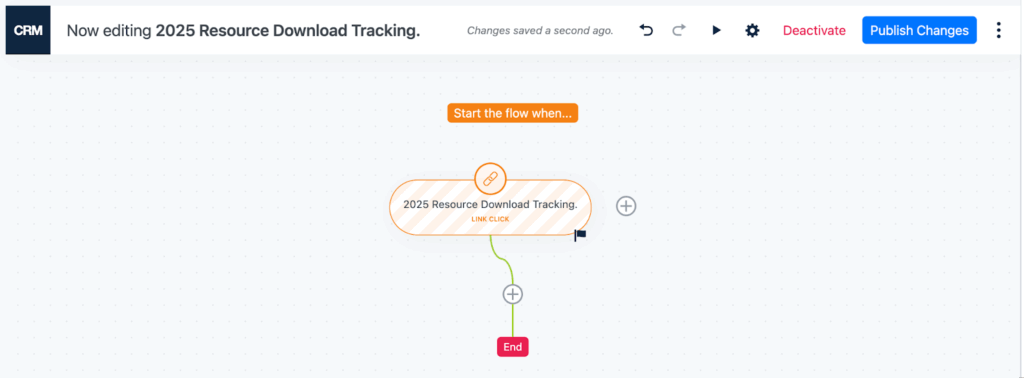
Step 3: Add a Link Click benchmark
- Add a Link Click as the benchmark for your Flow.
- Give this step an internal name (e.g. 2025 Resource PDF Download).
- The system will generate a unique tracking URL – copy this link.

- Paste your previously copied Media Library file URL into the “When the link is clicked, redirect to…” field.
- Enable “Track conversion when triggered” under Trigger Settings.
Optional: Add follow-up steps
You can add steps like sending a follow-up “Thanks for downloading” email or tagging the contact for future campaigns. If you’re only tracking downloads, you can skip this and publish the Flow now.
Step 4: Add the link to your page or email
Use the unique tracking link (from Step 3) instead of the direct file URL. If you’re adding it to a page via Elementor:
- Use the Button widget and paste the tracking link into the URL field
- Under Custom Attributes, enter:
download|filename.pdf/docx
This setup ensures the file starts downloading while tracking the click.
Step 5: View download reports
To see who’s downloaded the file:
- Go to CRM > Reports > Flows
- Click on your Flow
- You’ll see the number of downloads next to your benchmark name (e.g. 2025 Resource PDF Download)
- Clicking that number shows you the list of contacts who clicked the download link


